Production Center
MENU
Keyboard Shortcuts • Patterns • Adjustment Layers • Actions
Presets • Brushes • Styles • Library • Layer Modes • Hot Tips • Layer Modes • Downloads
This section contains the shortcuts from our
TOP 100 PSD custom keyboard settings.
CLICK HERE FOR A FREE DOWNLOAD (TOP 100 PSD.kys)
DESIRED ACTION
Create Smart Object
Rasterize Selected Layer
macOS
Cmd+Opt+Ctrl+Shft+S
Cmd+Opt+Ctrl+Shft+P
Windows
Alt+Ctrl+Shft+S
Alt+Ctrl+Shft+S
Often Used Filters
Gaussian Blur
Radial Blur
Motion Blur
Unsharp Mask
Add Noise
High Pass
macOS
Cmd+Opt+Ctrl+G
Cmd+Opt+Ctrl+R
Cmd+Opt+Ctrl+M
Cmd+Opt+Ctrl+S
Cmd+Opt+Ctrl+N
Cmd+Opt+Ctrl+H
Windows: 4 You 2 Create
Ctrl+Alt+Shift+G
Ctrl+Alt+Shift+R
Ctrl+Alt+Shift+M
Ctrl+Alt+Shift+U
Ctrl+Alt+Shift+N
Ctrl+Alt+Shift+H
This section contains Adobe’s useful default shortcuts.
Blend Modes for Layers
Multiply Blend Mode
Screen Blend Mode
Overlay Blend Mode
Soft Light Blend Mode
Color Blend Mode
Marquee Tool Selected
Shft+Opt+M
Shft+Opt+S
Shft+Opt+O
Shft+Opt+F
Shft+Opt+C
Marquee Tool Selected
Shft+Alt+M
Shft+Alt+S
Shft+Alt+O
Shft+Alt+F
Shft+Alt+C
Blend Modes for Brushes
Multiply Blend Mode
Screen Blend Mode
Overlay Blend Mode
Soft Light Blend Mode
Color Blend Mode
Brush Tool Selected
Shft+Opt+M
Shft+Opt+S
Shft+Opt+O
Shft+Opt+F
Shft+Opt+C
Brush Tool Selected
Shft+Alt+M
Shft+Alt+S
Shft+Alt+O
Shft+Alt+F
Shft+Alt+C
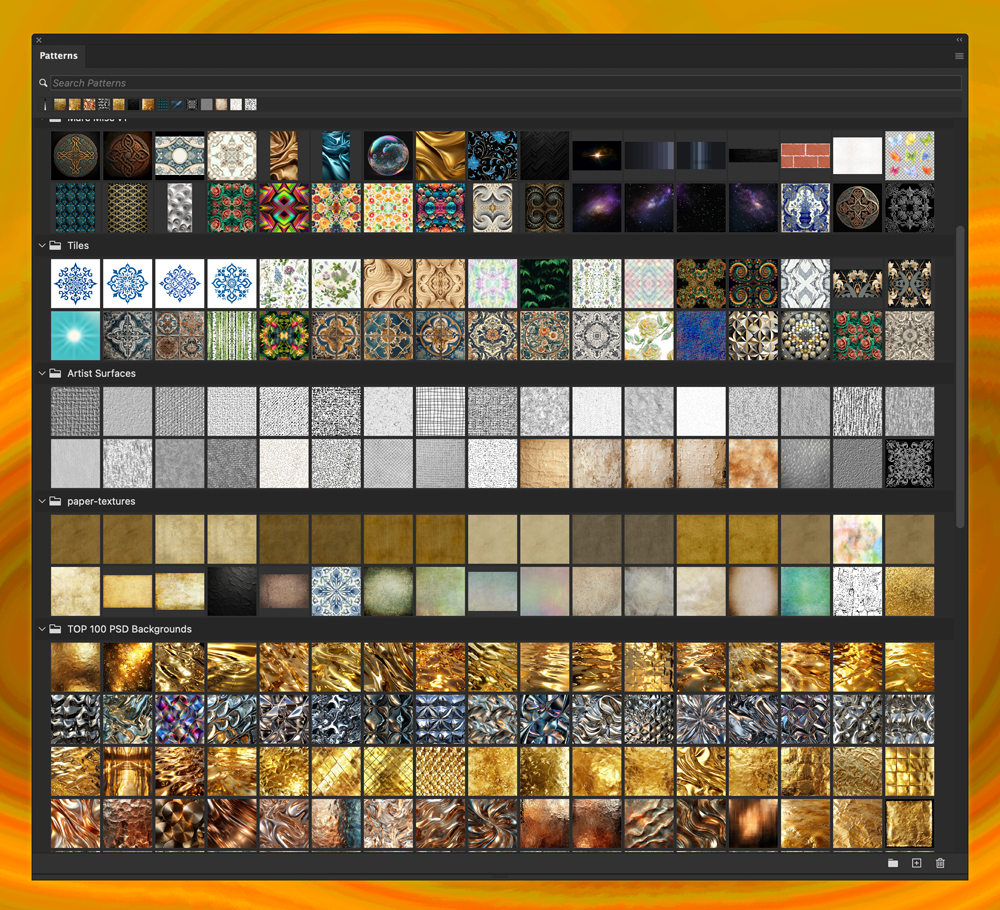
Visit PatGrounds.com for an extensive, affordable collection of amazing very high-resolution patterns and backgrounds ready to use in Photoshop.
Go to https://PatGrounds.com
Adjustment layers in Photoshop are a powerful tool that allow you to make non-destructive edits to your images.
Unlike directly applying adjustments to the image pixels, adjustment layers sit on top of your image and affect it without actually changing the original pixels. This offers several advantages:
- Non-Destructive Editing: Adjustment layers preserve the original image data, allowing you to make changes without permanently altering the underlying pixels. This means you can experiment with different adjustments and revert to the original image at any time.
- Layer Masks: Each adjustment layer comes with a built-in layer mask. Layer masks allow you to selectively apply adjustments to specific areas of the image by painting on the mask with black, white, or shades of gray. This provides precise control over where the adjustment is applied, allowing you to blend multiple adjustments seamlessly.
- Opacity and Blend Modes: Adjustment layers offer opacity and blend mode controls, allowing you to control the strength and interaction of the adjustment with the underlying layers. This gives you even more flexibility in fine-tuning the look of your image.
- Stackable Adjustments: You can stack multiple adjustment layers on top of each other to create complex effects and corrections. This allows for a non-linear editing workflow where adjustments can be added, modified, or removed independently of each other.
- Adjustment Layer Types: Photoshop offers a wide range of adjustment layer types, each tailored to specific types of edits. Some common adjustment layers include:
- Brightness/Contrast: Adjusts the overall brightness and contrast of the image.
- Levels: Provides control over the tonal range of the image by adjusting the black, white, and midtone levels.
- Curves: Offers precise control over tonal adjustments through a customizable curve.
- Hue/Saturation: Allows you to adjust the hue, saturation, and lightness of specific color ranges in the image.
- Selective Color: Enables targeted adjustments to individual color channels.
- Color Balance: Adjusts the overall color balance of the image by controlling the levels of different color channels.
- Saving and Sharing Adjustments: Adjustment layers can be saved as presets, allowing you to reuse them across multiple projects or share them with others. This can help maintain consistency in your editing workflow and streamline collaboration.
Overall, adjustment layers in Photoshop provide a flexible and non-destructive way to enhance and modify your images, offering precise control over tonal, color, and stylistic adjustments while preserving the integrity of the original image data.
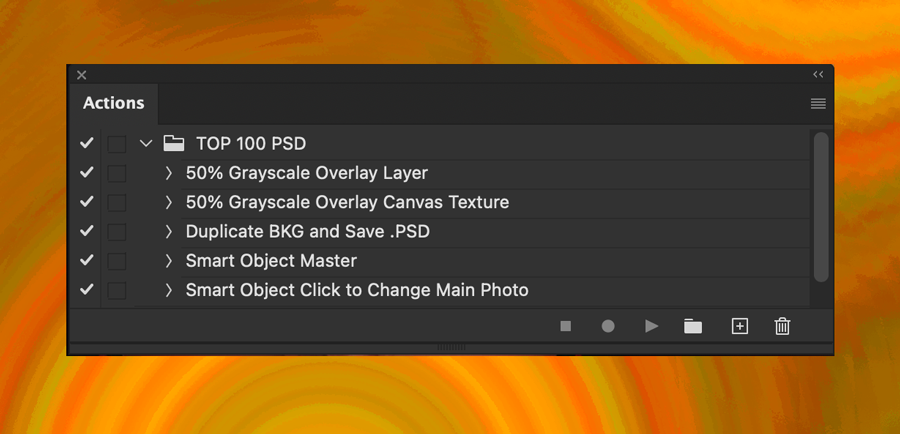
Creating actions in Photoshop can greatly streamline your workflow and increase efficiency, especially when working with repetitive tasks or complex editing processes.
Here are some benefits of using actions:
- Time-saving: Actions allow you to record a series of steps and replay them with a single click. This can significantly reduce the time spent on repetitive tasks such as resizing images, applying specific adjustments, or adding watermarks.
- Consistency: Actions ensure consistency across multiple images or projects by automating the application of certain edits or effects. This is particularly useful when working on a series of images that require the same adjustments.
- Accuracy: By recording a sequence of steps in an action, you can ensure that complex edits are applied accurately every time they are executed. This reduces the risk of errors that may occur when performing repetitive tasks manually.
- Ease of Use: Actions are easy to create and use, making them accessible to users of all skill levels. Once created, actions can be played back with a single click, eliminating the need to remember and manually execute each step of a process.
- Customization: Actions can be customized to suit your specific workflow and preferences. You can record, edit, and organize actions to match the tasks you perform most frequently, allowing you to work more efficiently.
- Batch Processing: Actions can be applied to multiple images simultaneously through batch processing, further increasing productivity. This is especially useful when working with large sets of images that require the same edits or adjustments.
- Experimentation and Exploration: Actions can also be used as a tool for experimentation and exploration in Photoshop. You can record different editing techniques or effects as actions, allowing you to quickly test and compare various options without committing to permanent changes.
- Learning Tool: Creating actions can help you understand and learn Photoshop techniques more effectively. By recording and examining the steps involved in a particular edit or effect, you can gain insights into how certain features and tools work.
Creating actions in Photoshop offers numerous benefits, including time-saving automation, improved consistency and accuracy, ease of use, customization options, batch processing capabilities, and opportunities for experimentation and learning. Incorporating actions into your workflow can help you work more efficiently and effectively, allowing you to focus on the creative aspects of your projects.

Photoshop is rich with options that allow you to create, import, and use presets.
A preset is a pre-defined setting or configuration that you can apply to your work to achieve certain effects or styles quickly and easily. Presets can be applied to various features within Photoshop, such as brushes, gradients, patterns, layer styles, color adjustments, filters, and more.
Some common and more useful types of presets in Photoshop include:
- Brush Presets: These are predefined brush settings that include brush tip shape, size, hardness, opacity, and flow. Brush presets can save time by allowing you to quickly switch between different brush settings without having to manually adjust each parameter.
- Gradient Presets: Gradient presets are predefined color gradients that can be applied to layers, shapes, masks, or text to create smooth color transitions. They save time by providing ready-made gradient styles that you can apply with a single click.
- Layer Style Presets: Layer styles include effects such as drop shadows, strokes, glows, and bevels that can be applied to layers to add depth and dimension to your designs. Layer style presets store these effects settings so you can easily apply them to other layers.
- Color Lookup Presets: Color lookup presets are predefined color grading adjustments that can dramatically alter the color and mood of an image. They are often used in photo editing to apply cinematic or vintage looks to photos.
- Filter Presets: Photoshop includes a wide range of filters that can be applied to images to achieve various artistic effects. Filter presets store specific filter settings so you can apply them to other images without having to manually adjust the settings each time.
Overall, presets in Photoshop are valuable tools for saving time and achieving consistent results in your design and editing workflow. They allow you to quickly apply complex settings or effects with just a few clicks, streamlining your creative process.

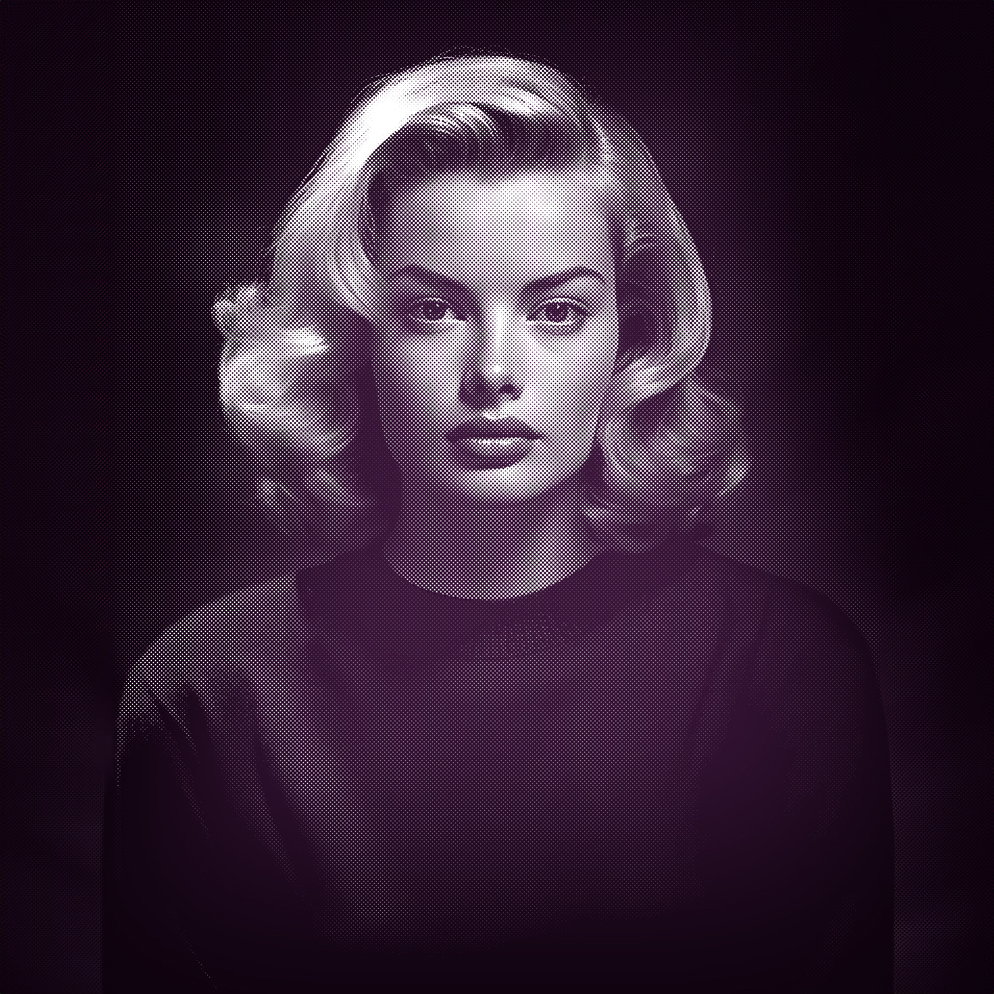
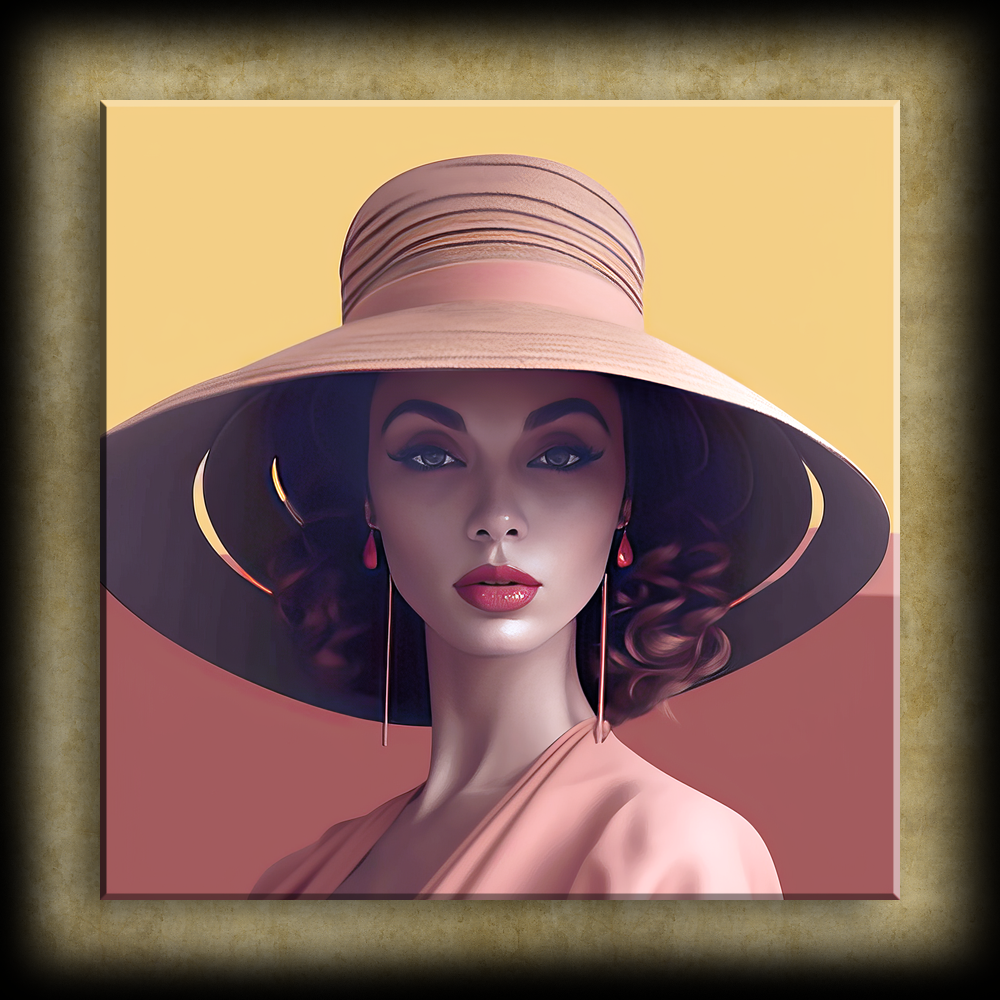
The above image was created with ONE click in Photoshop
Creating custom brushes in Photoshop can be a great way to personalize your digital artwork and streamline your workflow.
Here’s a step-by-step guide to creating your own brushes:
- Prepare Your Brush Shape:
Start by creating or finding the shape you want to use as a brush. This could be anything from a simple geometric shape to a more complex design or texture. It can even be an object like a rose, a face, or an airplane.- Create a new document in Photoshop where you can design your brush shape. Use black on a white background for best results.
- Define the Brush Shape:
- Once you have your shape ready, select it using any selection tool (e.g., Marquee tool, Lasso tool, or Pen tool).
- Go to Edit > Define Brush Preset. A dialog box will appear prompting you to name your brush. Enter a name and click OK. This will save your shape as a new brush preset.
- Adjust Brush Settings:
- After defining your brush, you can adjust its settings to customize its behavior.
- Open the Brush Settings panel by going to Window > Brush Settings.
- Experiment with settings such as size, spacing, angle, roundness, scattering, and pressure sensitivity to achieve the desired effect. These settings can greatly affect how your brush behaves when used in your artwork.
- Save Your Brush Set (Optional but JUST DO IT):
- If you’ve created multiple custom brushes that you want to keep together, you can save them as a brush set.
- Go to Edit > Presets > Preset Manager.
- Select ‘Brushes’ from the Preset Type dropdown menu.
- Click on the first brush you want to include in your set, then hold down Shift and click on the last brush to select them all.
- Click ‘Save Set’ and choose a location to save your brush set. Give it a name and click ‘Save.’
- Test Your Brush:
- Once you’ve adjusted your brush settings to your liking, test it out on a new document to see how it performs. You may need to fine-tune the settings further based on your needs.
- Additional Tips:
- You can also create brushes from existing images or photographs. Simply open the image in Photoshop, select the area you want to use as a brush, and follow steps 2 and 3.
- Experiment with different brush dynamics and settings to achieve unique effects.
- Don’t be afraid to revisit and tweak your brushes as you use them in your artwork. Custom brushes can evolve over time as you discover new techniques and preferences.
By following these steps, you can create custom brushes tailored to your specific artistic style and workflow in Photoshop.
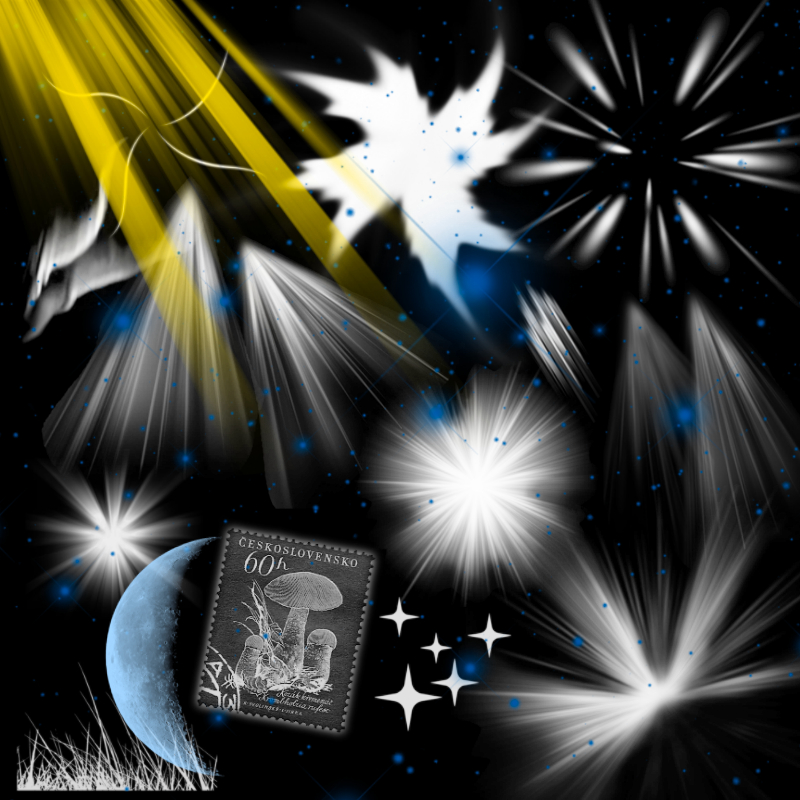
Some of these sample brush shapes were downloaded from
the web, for free. Some are from purchased collections.
They are not for sale here, but easy to find online. Search
for the shape you seek, i.e., Photoshop roses brushes.
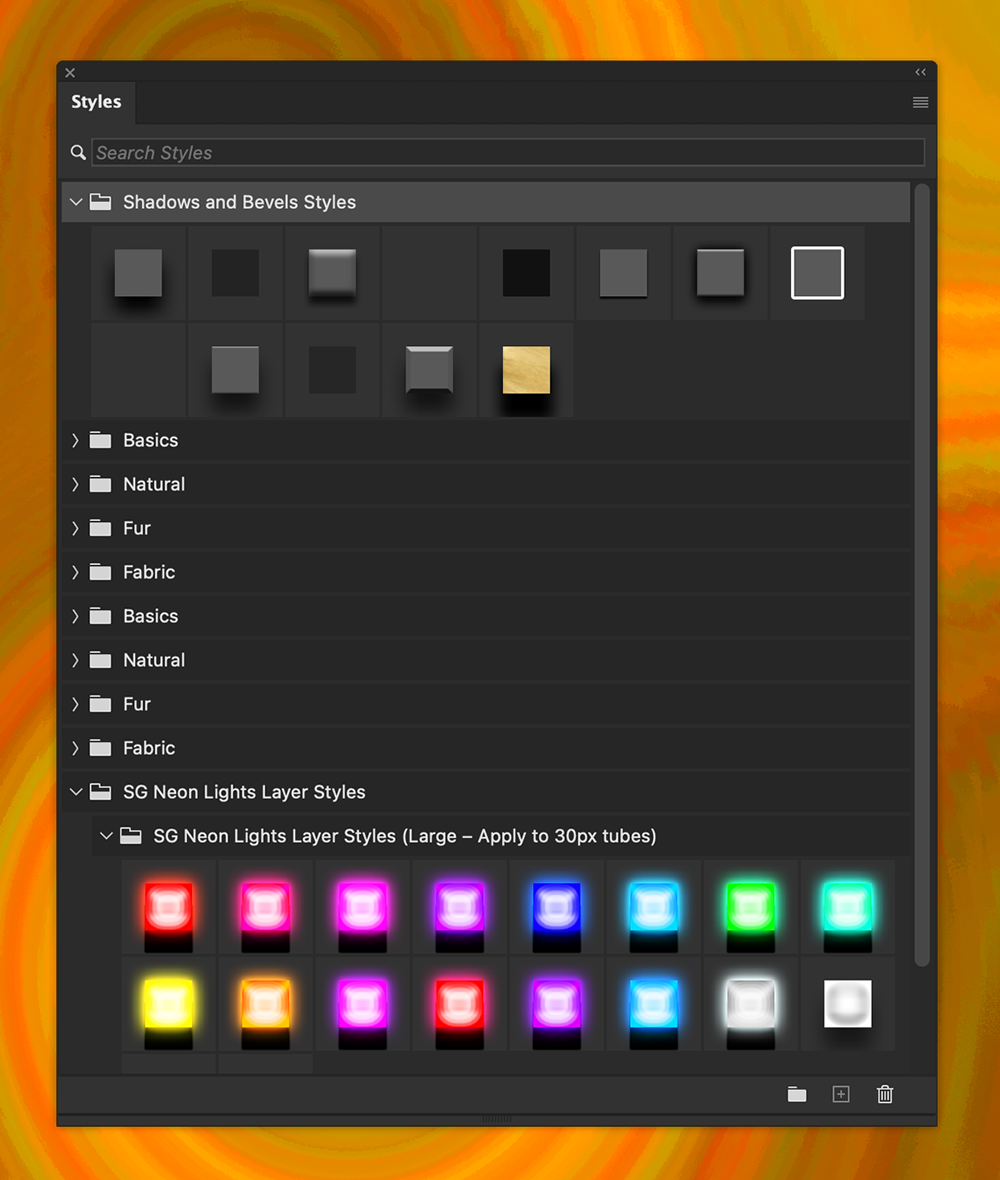
In Photoshop, layer styles are a collection of effects that can be applied to a layer or layer group to alter its appearance.
These effects include shadows, glows, bevels, strokes, and more. Layer styles offer several benefits and can significantly enhance your design workflow:
- Ease of Use: Layer styles provide a quick and easy way to add complex effects to your layers without the need for manual editing or complex techniques. With just a few clicks, you can apply effects like shadows, glows, and gradients to your layers, saving time and effort.
- Non-Destructive Editing: When you apply a layer style to a layer, the original layer content remains intact. This means you can easily adjust or remove the layer style at any time without affecting the underlying layer content. It allows for experimentation and flexibility in your design process.
- Consistency: Layer styles help maintain consistency across your design projects by allowing you to create and save custom styles. Once you’ve created a style that you like, you can apply it to other layers or projects with a single click, ensuring a cohesive look and feel.
- Efficiency: Layer styles can be applied to multiple layers simultaneously, saving time when working on complex compositions or designs. You can also copy and paste layer styles between layers, making it easy to apply the same effects across different elements of your design.
- Realistic Effects: Photoshop’s layer styles offer a wide range of effects that can help make your designs look more realistic and visually appealing. For example, you can use drop shadows to add depth to text or objects, or use bevel and emboss effects to create a 3D appearance.
- Customization: Layer styles in Photoshop are highly customizable, allowing you to fine-tune the appearance of your effects to suit your design needs. You can adjust parameters such as opacity, blend mode, angle, distance, size, and more to achieve the desired look.
- Versatility: Layer styles can be applied to various types of layers, including text layers, shape layers, and raster layers. This versatility allows you to apply effects to different elements of your design and experiment with different combinations of styles and effects.
- Time-Saving Templates: Photoshop allows you to save layer styles as presets or templates, making it easy to reuse your favorite effects in future projects. You can also download and install custom layer styles created by other users, further expanding your options for creative effects.
Layer styles in Photoshop offer a powerful and efficient way to enhance the appearance of your designs, with benefits including ease of use, non-destructive editing, consistency, efficiency, realistic effects, customization options, versatility, and time-saving templates. Incorporating layer styles into your design workflow can help you achieve professional-looking results more quickly and easily.
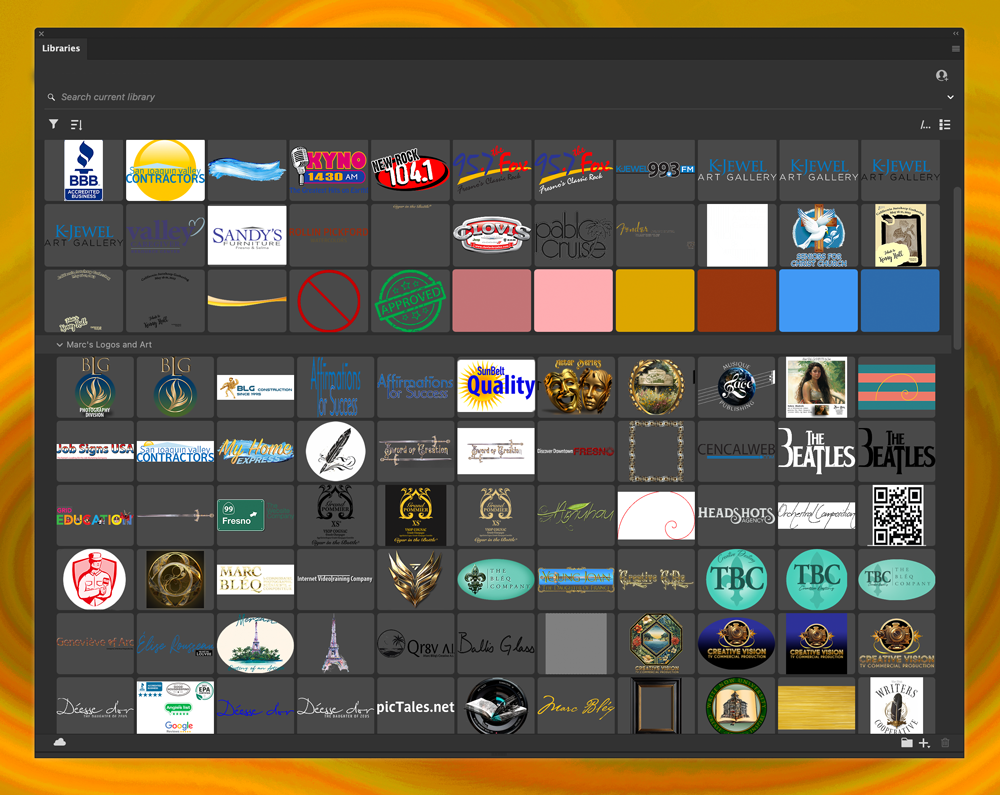
Adobe’s Creative Cloud Library feature offers several valuable benefits for individuals and teams working on creative projects:
- Centralized Asset Management: Creative Cloud Libraries allow users to store and organize assets such as colors, character styles, paragraph styles, graphics, logos, and other design elements in one central location. This makes it easy to access and share assets across different Adobe Creative Cloud applications like Photoshop, Illustrator, InDesign, Premiere Pro, and XD.
- Consistency and Efficiency: By storing commonly used assets in libraries, designers can ensure consistency across projects and within teams. Design elements like brand colors, logos, and typography can be standardized, making it quicker and easier to create new designs and maintain brand identity.
- Collaboration and Sharing: Creative Cloud Libraries facilitate collaboration among team members by allowing them to share libraries with each other. This enables seamless sharing of assets and design elements, fostering better communication and teamwork, especially in remote or distributed teams.
- Syncing Across Devices: Creative Cloud Libraries sync across desktop and mobile devices, allowing users to access their assets wherever they are. This flexibility is particularly useful for designers who work across multiple devices or need to access assets while on the go.
- Version Control: Libraries support version control, allowing users to track changes and revert to previous versions if needed. This helps prevent accidental overwrites or modifications to critical assets, providing added security and peace of mind.
- Integration with Creative Cloud Ecosystem: Creative Cloud Libraries seamlessly integrate with other Adobe Creative Cloud services and applications, enhancing the overall creative workflow. For example, designers can directly access assets from libraries within their preferred Adobe applications, streamlining the design process.
- Cross-Application Compatibility: Since Creative Cloud Libraries are compatible with various Adobe Creative Cloud applications, designers can easily transfer assets between different programs without the need for manual file conversions or adjustments.
Adobe’s Creative Cloud Library feature streamlines the design process, promotes collaboration, ensures consistency, and enhances efficiency for individuals and teams working on creative projects.
Photoshop offers a variety of blend modes, each affecting how pixels in different layers interact with each other. Here’s a brief overview of each blend mode:
- Normal: This is the default blend mode where pixels in the top layer completely replace those in the layers beneath.
- Dissolve: This blend mode randomly replaces pixels in the top layer with pixels from the layers beneath, creating a speckled or dithered effect.
- Darken: This blend mode compares pixel values in the top and bottom layers and displays the darkest of the two.
- Multiply: This blend mode multiplies the color values of pixels in the top and bottom layers, resulting in a darker overall color.
- Color Burn: This blend mode darkens the base color to reflect the blend color. The result is similar to applying a darker version of the blend color to the base color.
- Linear Burn: Similar to Color Burn, but with a stronger effect.
- Darken Color: This blend mode compares the hue and saturation of pixels in the top and bottom layers and displays the darkest of the two while keeping the brightness of the base color.
- Lighten: This blend mode compares pixel values in the top and bottom layers and displays the lightest of the two.
- Screen: This blend mode multiplies the inverse of the color values of pixels in the top and bottom layers, resulting in a lighter overall color.
- Color Dodge: This blend mode brightens the base color to reflect the blend color. The result is similar to applying a lighter version of the blend color to the base color.
- Linear Dodge (Add): Similar to Color Dodge, but with a stronger effect.
- Lighten Color: This blend mode compares the hue and saturation of pixels in the top and bottom layers and displays the lightest of the two while keeping the brightness of the base color.
- Overlay: This blend mode combines Multiply and Screen blend modes. It darkens the underlying layer where the top layer is dark and lightens it where the top layer is light.
- Soft Light: This blend mode is similar to Overlay but with a softer effect, resulting in more subtle changes.
- Hard Light: This blend mode is similar to Overlay, but the effect is more intense, producing stronger contrast.
- Vivid Light: This blend mode burns or dodges the colors by increasing or decreasing the contrast, depending on the blend color. If the blend color (light source) is lighter than 50% gray, the image is lightened, similar to Screen mode. If the blend color is darker than 50% gray, the image is darkened, similar to Multiply mode.
- Linear Light: This blend mode is similar to Vivid Light but with a stronger effect.
- Pin Light: This blend mode replaces the colors, depending on the blend color. If the blend color (light source) is lighter than 50% gray, pixels darker than the blend color are replaced, and pixels lighter than the blend color do not change. If the blend color is darker than 50% gray, pixels lighter than the blend color are replaced, and pixels darker than the blend color do not change.
- Hard Mix: This blend mode adds the RGB values of the blend color to the base color. If the resulting value is 255 or greater, it becomes white; if less than 255, it becomes black. This creates a posterized effect.
- Difference: This blend mode subtracts the brightness values of pixels in the top layer from those in the layers beneath. The result is the absolute value of the difference.
- Exclusion: This blend mode is similar to Difference but with lower contrast. It subtracts the darker color from the lighter color.
- Subtract: This blend mode subtracts the pixel values in the top layer from the pixel values in the layers beneath, resulting in darker overall colors.
- Divide: This blend mode divides the brightness values of pixels in the top layer from those in the layers beneath. It often produces extreme effects, with high contrast and strong color shifts.
- Hue: This blend mode preserves the luminosity and saturation of the underlying layer while adopting the hue of the top layer. It effectively applies the hue of the top layer to the bottom layer.
- Saturation: This blend mode preserves the luminosity and hue of the underlying layer while adopting the saturation of the top layer. It effectively applies the saturation of the top layer to the bottom layer.
- Color: This blend mode preserves the luminosity of the underlying layer while adopting both the hue and saturation of the top layer. It effectively applies the color of the top layer to the bottom layer.
- Luminosity: This blend mode preserves the hue and saturation of the underlying layer while adopting the luminosity of the top layer. It effectively applies the brightness and contrast adjustments of the top layer to the bottom layer while keeping its original colors.
These blend modes provide a wide array of options for combining and manipulating layers in Photoshop, allowing for diverse and nuanced editing techniques.
Grids Setup
- Open an image in Photoshops.
- Go to the “View” menu.
- Select “Show” and then choose “Grid” to enable the grid.
- The shortcut is Cmd+’ or Ctrl+’
- Once the grid is visible, go to Preferences.
- The shortcut is Cmd+K or Ctrl+K
- Choose “Guides, Grids & Slices”
- Use the Grid section in the middle.
- In the “Gridline Every” field, enter the desired spacing.
- For a 3×3 grid, you might enter the same value for both horizontal and vertical spacing.
- 33.33 percent will create a rule of thirds delineation.
- Set Subdivisions to your choice.
- Try 2 to cut each of your one-third gridlines in half.
- The changes are dynamic so you can see them as you make the changes.
- You can change the color too if you’d like.
- Click “OK” to save your choices.


