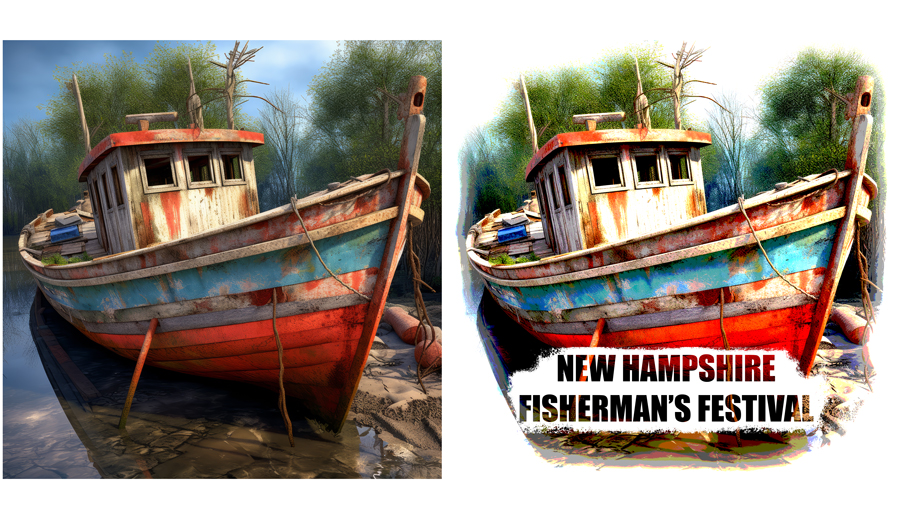
Posterize for Vector: Streamlining Your Artwork for Illustrator and Beyond
Welcome back to TOP 100 PSD, your ultimate resource for mastering Photoshop photography and design. Today, we’re diving into a powerful technique that bridges the gap between Photoshop and Adobe Illustrator: Posterize for Vector. Whether you’re preparing artwork for silk screen printing or unleashing your creativity in a new way, mastering this adjustment can take your designs to the next level. Let’s explore how to use Posterize to transform your artwork into scalable vector graphics with ease.
So, what exactly is Posterize, and why should you care? In Photoshop, the Posterize adjustment simplifies the colors in an image into a limited number of tones or levels. This creates a distinct, graphic look that’s perfect for preparing artwork for vectorization in Adobe Illustrator. By reducing the number of colors and tones, Posterize makes it easier for Illustrator’s tracing tools to accurately convert your artwork into clean, scalable vector shapes.
But Posterize isn’t just a practical tool – it’s also a creative powerhouse in its own right. By experimenting with different levels of posterization, you can achieve striking visual effects and stylized looks that set your artwork apart. Whether you’re designing posters, t-shirts, or digital illustrations, Posterize offers endless possibilities for unleashing your artistic vision.
Here’s how you can use Posterize to prepare your artwork for vectorization in Adobe Illustrator:
- Prepare Your Artwork: Start by opening your artwork in Photoshop. This could be a digital illustration, a photo, or any other image that you want to convert into vector format. Ensure that your artwork is clean and high-resolution for the best results.
- Apply the Posterize Adjustment: With your artwork layer selected, go to Image > Adjustments > Posterize. Adjust the Levels slider to specify the number of tones or colors you want to retain in your artwork. For vectorization purposes, a lower number of levels (around 4-6) is usually ideal, as it simplifies the image while preserving its essential details.
- Fine-Tune the Results: After applying the Posterize adjustment, take a moment to evaluate the results. Depending on your artwork and personal preference, you may need to experiment with different levels of posterization to achieve the desired effect. Don’t be afraid to play around with the Levels slider until you’re satisfied with the look of your artwork.
- Save and Export: Once you’re happy with the posterized version of your artwork, it’s time to save it for vectorization in Adobe Illustrator. Save your Photoshop file in a format that preserves layers and transparency, such as PSD or TIFF. Then, open the file in Illustrator and use the Image Trace function to convert your artwork into scalable vector graphics.
By incorporating Posterize for Vector into your Photoshop workflow, you can seamlessly transition your artwork from raster to vector format, opening up a world of possibilities for printing, digital design, and beyond. Whether you’re embarking on a silk screen t-shirt project or exploring new creative avenues, Posterize empowers you to transform your vision into reality with ease. So go ahead, give it a try, and watch as your artwork comes to life in ways you never thought possible. Happy creating!


