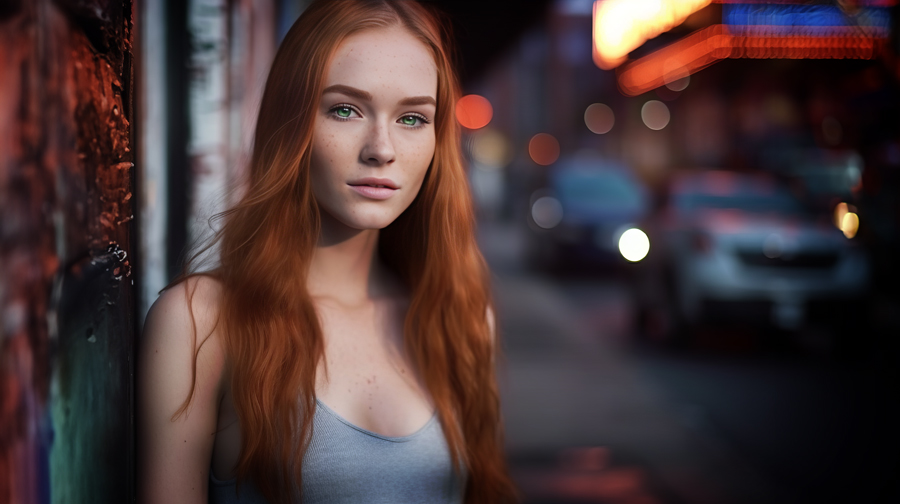
When in Doubt, Vignette: Elevating Your Photos with a Timeless Technique
Welcome back to TOP 100 PSD, your ultimate destination for mastering Photoshop photography. Today, we’re shining a spotlight on a classic editing technique that never goes out of style: the vignette. Whether you’re a seasoned pro or just starting your editing journey, adding a subtle vignette to your photos can enhance their visual impact and draw viewers’ attention to the focal point of your composition. Let’s explore why vignetting is a go-to technique for photographers of all skill levels.
First things first – what exactly is a vignette, and why should you use it in your photography editing? In simple terms, a vignette is a gradual darkening or lightening of the edges of an image, creating a subtle framing effect that directs the viewer’s gaze towards the center of the frame. This technique helps to draw attention to the subject of your photograph, adding depth, drama, and visual interest to your compositions.
But the benefits of vignetting extend beyond mere aesthetics – it can also help to correct exposure and balance the overall tonal range of your photos. By darkening the edges of the frame, you can effectively reduce distractions and unwanted clutter, allowing the viewer to focus on the main subject without being overwhelmed by extraneous details. Conversely, lightening the edges can create a soft, ethereal effect that adds a sense of warmth and intimacy to your images.
So how do you go about adding a vignette to your photos in Photoshop? Luckily, it’s a simple and straightforward process that can be applied to just about any photograph. Here’s a basic step-by-step guide to get you started:
- Open Your Image in Photoshop: Start by opening the photo you want to edit in Photoshop. This could be a raw image straight from your camera or a JPEG file from your digital archives.
- Create a New Adjustment Layer: In the Layers panel, click on the “Create new fill or adjustment layer” icon at the bottom and choose “Curves” from the dropdown menu. This will create a new Curves adjustment layer above your photo.
- Adjust the Curves: In the Properties panel for the Curves adjustment layer, click on the middle of the curve line and drag it downward to darken the entire image. Then, click on the “Layer Mask” icon in the Layers panel to add a mask to the adjustment layer.
- Apply the Vignette Effect: With the layer mask selected, choose the Brush tool (shortcut: B) and set the foreground color to black. Use a soft, round brush with low opacity to paint over the areas of the image where you want the vignette effect to be applied, typically around the edges of the frame. Adjust the brush size and opacity as needed to achieve the desired effect.
- Fine-Tune and Adjust: Once you’ve applied the vignette effect, take a step back and evaluate the results. You can further fine-tune the intensity and shape of the vignette by adjusting the opacity of the Curves adjustment layer or tweaking the mask as needed.
By incorporating vignetting into your photography editing workflow, you can elevate your photos to new heights of visual sophistication and impact. Whether you’re capturing portraits, landscapes, or still life, adding a subtle vignette can help to create a sense of depth, drama, and focus that draws viewers in and leaves a lasting impression. So the next time you find yourself in doubt about how to enhance your photos, remember: when in doubt, vignette. Happy editing!


